Our Sensors
Characteristics of Hydrascout probes:
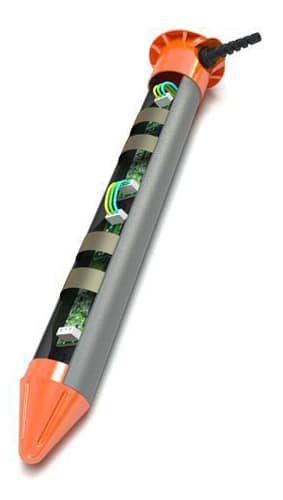
Technically, our Hydrascout capacitive probes has been designed to be as robust and efficient as possible.
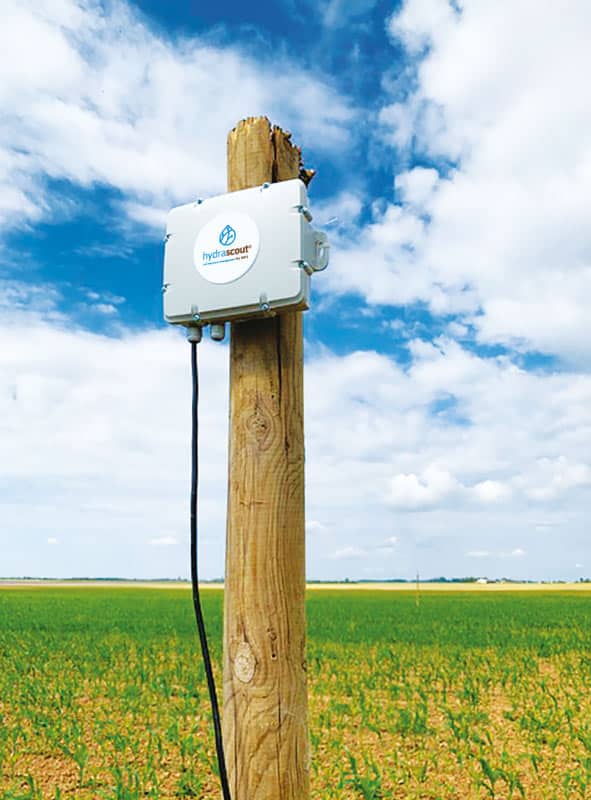
Our products consist of a series of sensors, arranged in a modular way. They allow continuous measurements to be made within your plots, thanks to the capacitive technology, and send the data via a communication dataloger.
The web/app platform. will receive temperature and moisture data for each soil horizon in your field. We are also developing salinity measurements at the request of certain customers who are faced with this type of problem.
Our probe has a 38 mm diameter. Thischaracteristicallows it to read data from the ground over a large area, equivalent to the diameter of a volleyball ball.
The inside of our probe is fully protected by resin, so our probes are not afraid of corrosion or freezing and can stay in place in the ground, season after season. This robustness allows Hydrascout to offer a 5-year warranty for its probes.
The choice of the length of the probe depends on your type of crop and your type of soil: you will find details on this subject by clicking here.
The probe is installed in the ground in a flush or buried position, as explained in more detail in the illustrations of our products below.
How to install a Hydrascout probe?
Ideally, we install a Hydrascout probe for each zone / each homogeneous irrigation sector (on average we could indicate one probe per hectare, but you must above all make this choice according to your own irrigation logic).
The choice of location must be as representative as possible of the plotand the irrigation sector to be monitored. We will always take care to look for areas that are neither too dry nor too wet, so as to really constitute an average which corresponds well to the whole of the sector to be monitored.
It is also interesting to place a probe in atypical areas where you notice yield losses or growth anomalies. This will allow you to better understand what is happening in the soil at that precise location and compare it to the typical profile taken with a second probe.
Once you are familiar with Hydrascout, you can then increase the number of your probes each year to take into account all the types of situation on your farm and be able to control your irrigation with precision by having all the measurement elements at your disposal. arrangement.
The installation will be done in close collaboration with the company HSTI-Hydrascout and its partners. Contact us for a connection.
We have summarized the main points of the installation process for you below.
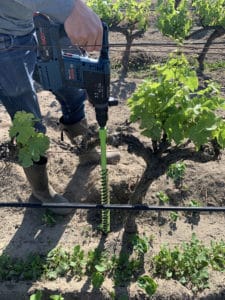
1 - Prepare your location

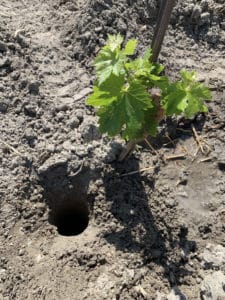
2 - Adjust the depth


3 - Study the soil extract

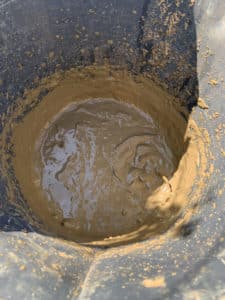
4 - Make a "Pralin"

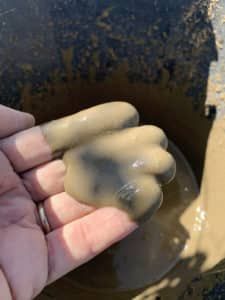
5 - Adapt the texture and pour

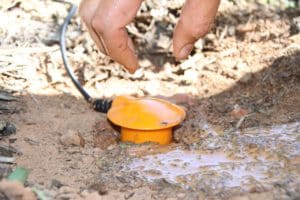
6 - Set up Hydrascout

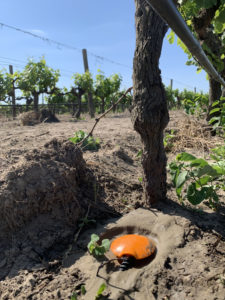
7 - Test the probe

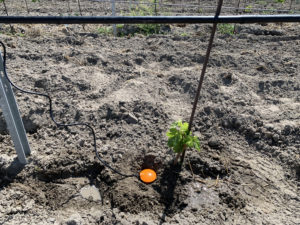
8 - Protect the cable

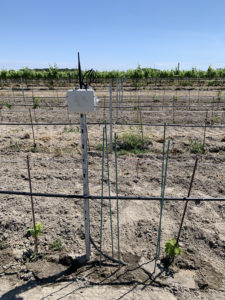
9 - Connect the box

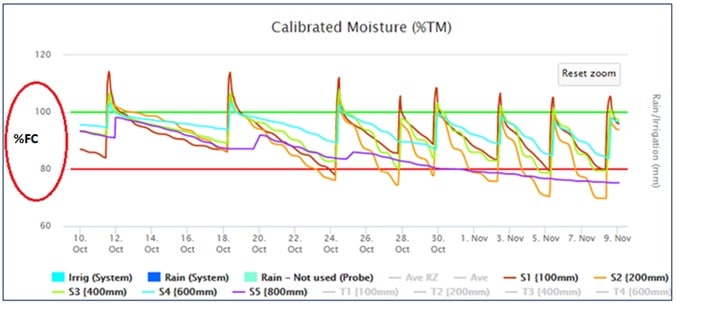
10 - Activate the web interface

How do I choose the right probe length?
Hydrascout probes are completely modular.
They are available in several lengths and with a number of sensors that can be adapted to your needs.
The Table below gives some examples that will make it easier for you to choose yours.
The choice of the length of your Hydrascout probe will mainly depend on:
*) – the type of production you cultivate and the depth of rooting of this culture
*) – the type of soil in which you are installing the probe and its depth – for example, if the rock is at 70 cm, we will not choose an 80 cm probe …
In the end, the choice of the most appropriate probe will be made jointly between the farmer and the installer, by comparing our recommendations with his own experience of his plots and soils!
The table below gives some indications that can guide you in your choice:
150cm / 6 sensors
120cm / 5 sensors
100 cm / 5 sensors
80 cm / 5 sensors
60 cm / 6 sensors
40 cm / 4 sensors
30 cm / 3 sensors
20 cm / 2 sensors
For any questions or requests for clarification, do not hesitate to ask us by sending us a message at the address indicated below.
